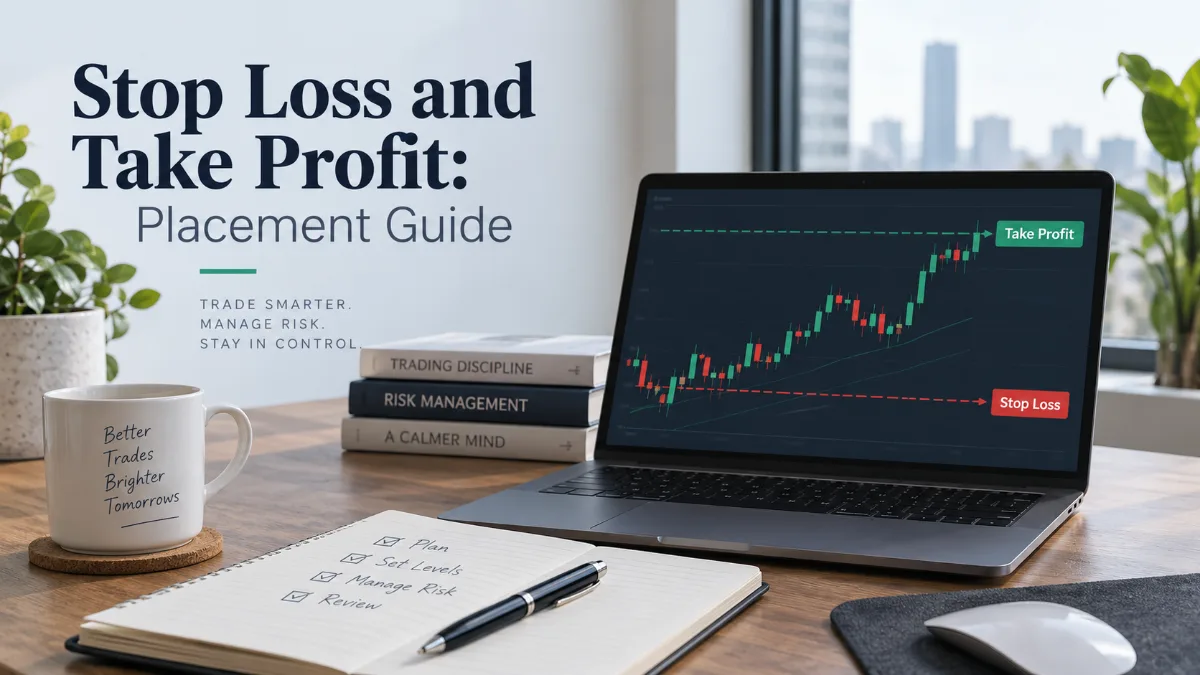
A stop loss defines where a trade should be exited if the market moves against the original idea. A take profit defines where gains should be realized if price reaches a planned objective. Do not start with arbitrary percentages. Identify what would invalidate the trade thesis, place the stop beyond that point with room for normal movement, then size the position so the potential loss remains acceptable. Place the take profit at a defensible target where the expected reward still justifies the risk.
For a long trade, the stop loss is usually below the entry and the take profit is above it. For a short trade, the logic is reversed. Design both before entry. A sensible stop can still create excessive account risk if the position is too large, while an attractive target can be unrealistic if major resistance or support sits in the way.
Stop loss and take profit in one framework
Stop loss and take profit orders are exit instructions. The stop is primarily a risk-control tool. The profit target is primarily an exit-planning tool. Neither predicts the market, and neither guarantees that a trade will end at the exact price entered in the order ticket.
| Feature | Stop loss | Take profit |
|---|---|---|
| Primary purpose | Limit damage when the trade thesis fails | Realize gains when the planned objective is reached |
| Typical location on a long trade | Below entry | Above entry |
| Typical location on a short trade | Above entry | Below entry |
| Main placement question | At what price is the setup no longer valid? | At what price is the expected move sufficiently complete? |
| Main execution risk | Triggering during noise or filling beyond the stop price | Price never reaches the target or reverses before the order fills |
| Relationship to position size | Directly determines risk per unit | Determines planned reward per unit |
In U.S. stocks, Investor.gov explains that a stop order becomes a market order after the stop price is reached. The stop price is therefore a trigger, not a guaranteed execution price. The eventual fill can be worse than the stop price when available liquidity is limited or the market moves quickly. Other markets and trading platforms can implement stop instructions differently, so the exact trigger and execution rules should be checked before relying on them.
Where to place stop loss orders
The most useful answer to where to place stop loss orders is this: place the stop beyond the price level that would invalidate the trade setup, not at the amount of money you merely hope to avoid losing. Then adjust position size to make that technically justified stop compatible with the amount of capital you are willing to risk.
Use the invalidation point first
Every trade idea should have a reason it would be considered wrong. A breakout trade may be invalidated if price falls back through the breakout area and holds below it. A pullback trade may be invalidated if price breaks the swing low that defined the pullback. A short position based on resistance may be invalidated if price closes convincingly above that resistance zone.
This approach makes the stop part of the thesis. If a long setup depends on support near 98 and routine price movement regularly reaches 97.70, a stop at 98.05 may sit inside normal noise rather than beyond invalidation. Moving it slightly beyond the structure can make more sense, but the wider distance must be reflected in a smaller position if total risk is to remain unchanged.
Account for normal volatility
A stop that is structurally correct can still be too tight for the instrument's normal movement. Volatility measures such as Average True Range can help describe how far price has recently moved during a typical period. They do not predict the next move, but they can provide context for whether a stop is sitting inside routine fluctuation.
One practical method is to identify the structural invalidation level first and then add a modest volatility buffer beyond it. That is usually more coherent than using a volatility multiple without reference to market structure. The buffer should reflect the instrument and timeframe. A stop suitable for a quiet daily chart may be unusable on an intraday market that routinely moves the same distance within minutes.
Respect spread and market mechanics
The chart price you see is not always the exact price used to trigger or fill an order. Bid and ask prices matter, spreads can widen, and some platforms use different trigger conventions. Around market opens, news releases or thin trading periods, normal execution assumptions can deteriorate quickly.
That matters most when a stop is placed only a few ticks or pips from an obvious level. A trade can be directionally reasonable yet still be closed because the stop sat inside the spread or inside a brief liquidity-driven move. Before using a tight stop, confirm which side of the market triggers it and whether the platform uses last trade prices, bid prices, ask prices or another convention.
Size the position after choosing the stop
Position size should follow the stop distance rather than forcing the stop to fit a preferred position size. A simple relationship is:
Position size = maximum planned loss / risk per unit
Suppose a trader enters at 50 and the setup is invalid below 47.50. The planned risk is 2.50 per share before fees and slippage. If the maximum planned loss for the trade is 250, the position would be 100 shares. If the valid stop had to be 5 points away instead, keeping the same 250 risk would reduce the position to 50 shares.
This calculation does not make the trade safe. Gaps, slippage and order behavior can produce a larger loss than planned. It does prevent a common mistake: moving a stop unnaturally close to entry simply because the desired position is too large.
Where to place take profit orders
A take profit should be placed where the market has a credible reason to stall, reverse or complete the expected move. Useful reference points include prior swing highs or lows, range boundaries, established support or resistance zones, measured objectives and other areas where the original thesis is likely to have delivered most of its expected value.
Start with the next meaningful obstacle
For a long trade, the nearest major resistance area may be a more realistic target than a round number chosen for an attractive payoff ratio. For a short trade, the same logic applies to support. If a target sits well beyond multiple barriers that have repeatedly reversed price, the nominal reward may look impressive while the probability of reaching it may be low.
Targets do not have to sit exactly on a visible level. Placing a target slightly before a major barrier may improve the chance of execution, but an earlier exit captures less upside if price breaks through cleanly.
Use reward to risk as a filter
Reward to risk compares the planned gain with the planned loss. If an entry is 100, the stop is 96 and the take profit is 108, the planned downside is 4 per unit and the planned upside is 8. That is a 2:1 reward-to-risk profile before costs and execution effects.
A ratio should be a filter, not a reason to invent a target. If the chart supports only 4 points of realistic upside while the stop requires 4 points of room, writing in an 8-point target does not transform the setup into a 2:1 opportunity. The more useful decision is whether the available market structure offers enough reward for the required risk.
Ignoring costs, a strategy with an average win twice the size of its average loss has a mathematical break-even win rate of about 33.3 percent. Real trading results can differ because actual wins and losses rarely equal the planned values exactly. Slippage, partial exits, early closes and transaction costs all change the realized distribution.
Consider partial exits carefully
A trader can use more than one take profit level. For example, part of a position may be closed at the first objective while the remainder is left for a larger move. This can reduce exposure and lock in some profit, but it also lowers the average payoff if strong trades frequently continue to the final target.
Partial exits are most useful when they are part of a tested or clearly defined plan. Taking profit early merely because a position shows a gain can gradually turn a strategy with large intended winners into one with small realized winners while full losses remain unchanged.
Stop loss vs take profit: what matters most
The difference between stop loss and take profit is not simply loss versus profit. The stop answers whether the trade remains valid. The target answers whether enough of the expected move has occurred to justify exiting. A coherent trade plan connects both to the same market thesis.
For example, assume a long setup forms above a support zone. The stop belongs below the level that would negate that support-based idea. The take profit belongs near the area where the next significant resistance is expected to challenge further upside. If those two points produce poor reward relative to risk, the better response may be to skip the trade rather than distort either order.
A fixed 1 percent stop and fixed 2 percent target are not universally appropriate. Instruments and timeframes have different volatility, liquidity and structural distances. Percentage rules can constrain account risk, but they should not replace a valid market invalidation level.
Stop order and stop limit order differences
A standard stop order generally prioritizes getting out after the trigger is reached. In U.S. equity markets, FINRA warns that stop prices are not guaranteed execution prices and that volatile conditions can produce fills materially different from the stop. A stop limit order adds a limit price, which gives more control over the worst acceptable execution price but creates a different risk: the order may not execute at all if price moves through the limit too quickly.
The choice is an execution trade-off. A stop market offers more certainty of an exit but less certainty about price. A stop limit offers more price control but less certainty of an exit. Liquidity and gap risk should influence that choice.
How trailing stops change the plan
A trailing stop moves in a favorable direction as price advances according to a preset distance or rule. It can help protect gains while leaving room for a trend to continue. It can also close a position during an ordinary pullback if the trail is too tight.
The same placement logic still applies. A trailing distance should reflect the market and timeframe. It can follow new swing lows in a long trend, new swing highs in a short trend or a volatility-based distance. Each method balances protecting open profit against allowing room for the trade to develop.
Moving a stop to break-even after a small favorable move reduces the chance of a full planned loss, but it can also close trades before the thesis has time to work. The adjustment should be judged by its effect on realized outcomes rather than comfort.
Common placement mistakes
- Choosing the stop from account pain alone: A trader decides the maximum dollar loss first and places the stop wherever that amount happens to fall. The stronger sequence is thesis first, stop distance second and position size third.
- Putting the stop on the obvious level: A stop exactly at a prior high, low or round number can sit inside normal testing around that level. Invalidation may require some room beyond it.
- Widening the stop after entry: Moving a stop farther away increases the risk originally accepted. If the trade thesis has changed enough to justify a wider stop, that should be treated as a new risk decision rather than an automatic rescue attempt.
- Forcing a target to create a preferred ratio: A 3:1 target is not useful if market structure offers no credible path to that price. Reward to risk should describe the setup rather than manufacture it.
- Ignoring execution conditions: Fast markets, gaps, thin liquidity and wider spreads can cause actual outcomes to differ from planned order prices.
- Changing one exit without reassessing the other: Moving the stop or target changes the payoff profile. Reassess the trade as a whole.
A practical placement process
- Define the setup: State why the trade should work and what market behavior would prove that idea wrong.
- Mark the invalidation level: Identify the price beyond which the setup is no longer valid.
- Add necessary execution room: Consider normal volatility, spread behavior and the platform's trigger method so the stop is not sitting inside routine noise.
- Calculate risk per unit: Measure the distance from entry to the stop in dollars, points, ticks or pips as appropriate.
- Set position size: Divide the maximum planned trade loss by risk per unit, then adjust for contract size, pip value or other instrument-specific mechanics.
- Identify a realistic target: Use market structure and the expected path of price to choose the take profit area.
- Evaluate reward to risk: Compare the planned reward with the planned risk after the target and stop have been chosen for real market reasons.
- Verify the order ticket: Confirm whether the stop is a market stop, stop limit, trailing stop or another conditional order and understand how the venue triggers it.
- Plan adjustments before entry: Decide in advance whether partial exits, trailing rules or stop movement are allowed and what must happen before they are used.
When should a trade be skipped?
A valid setup is not automatically a valid trade. If the technically correct stop is so far away that reasonable position sizing becomes impractical, skipping the trade can be more disciplined than tightening the stop to an arbitrary level. The same is true when the nearest credible profit target offers too little reward for the required risk.
A trade may also be unattractive when a scheduled event could create unplanned gap or slippage risk, liquidity is unusually thin or the platform's order mechanics are unclear.
The core rule for stop loss and take profit placement
Place the stop where the trade idea is invalidated. Place the take profit where the expected move has a defensible objective. Then use position size to make the stop distance compatible with the amount of risk you are prepared to accept. That sequence keeps technical logic and risk management connected.
No stop loss can guarantee a maximum loss, and no take profit can guarantee a profitable exit. Orders can behave differently across brokers, asset classes and market conditions. This guide is educational rather than individualized investment advice.